Foreman is a free and open source tool that can provision bare metal and create virtual machine instances under public and provide cloud. Apart from the provision it is also used for configuring your system using puppet, it can perform perform all the repetitive task automatically using Puppet, chef, Salt and Ansible. Though Puppet is the default configuration tool that is being installed when we install Foreman server.
In our previous article we have already discussed “How to install Foreman Server on CentOS 7”
In this article we will walk through the steps how bare metal and virtual machines are provisioned through foreman server. I am assuming foreman server is already installed on CentOS 7 / RHEL 7.
Step:1 Create the installation media
Let’s assume we want to install CentOS 7 as a operating system on bare metal servers or in virtual machines. For that first we need to create installation media from Foreman Dashboard.
Before creating installation media let’s share the contents of CentOS 7 ISO file via ftp. In my case i have already install ftp (vsftpd) on foreman server itself and copy the contents of CentOS 7 ISO file in “/var/ftp/pub/CentOS_7_x86_64“.
[root@foreman ~]# mkdir /var/ftp/pub/CentOS_7_x86_64
[root@foreman ~]# mount /dev/cdrom /mnt/
[root@foreman ~]# cp -apv /mnt/* /var/ftp/pub/CentOS_7_x86_64/
Now Login to your Foreman Dashboard , Go to Hosts Tab –> Select ‘Installation media‘ and Click on ‘New Medium‘ & Specify the followings
Name of Installation Media : CentOS_x86_64
Path : ftp://172.168.10.51/pub/CentOS_7_x86_64/
Choose Family as “Red Hat”

click on “Submit”
Step:2 Define the Operating System and Associate Templates
From your Foreman dashboard , Go to Hosts Tab –> Select “Operating systems” and then click on ‘New Operating system‘
From the Operating System Tab define the Name of the OS, its Major version and minor version, Description, Family and its Architectures. In my case i am putting the followings

Click on Partition Table Tab and Select “Default Kickstart”

Now Associate the Installation Media to this Operating system , Click on “Installation media” Tab and Select “CentOS_7_x86_64”

Click on Submit, We will come back here again once we define the templates for the newly created Operating system and then we will associate these templates from templates Tab.
To define the Templates for the Operating system , Go to Hosts Tab –> Select Provisioning Templates .
We will define 5 templates for our Operating system “CentOS 7.2“, These are highlighted in below screen.

Click on the “Provisioning template” i.e Kickstart default and associate the template to our operating System “CentOS 7.2”

Click on submit.
Similarly Associate the remaining 4 templates to our operating system “CentOS 7.2”
Now again go to Hosts Tab –> Select Operating system, Click on CentOS 7.2, Associate the templates from Associate tab

Click on Submit.
Step:3 Configure Provisioning Setup
Now from Infrastructure Tab Go to ‘Provisioning setup‘ and Click on “foreman.example.com” (i.e provisioning host in my case) , Specify the subnet name and other details like starting and ending ip of the subnet, as per my case i have used the followings :

click on Submit.
Next Screen will appear and will look like below.

Copy the code under the option “Install provisioning with DHCP” and paste it on the foreman server. Once the installer command is completed then click on ‘Next‘

From “Installation Media” Tab select the installation medium (CentOS_7_x86_64) that we have created in above steps.

Click on Submit
As we can see Provisioning Setup is completed. Our next task is to create the Host .

Step:4 (optional) Edit Provisioning Template kickstart Default.
This step is optional in case if your provision subnet has Internet connectivity because during provisioning installer will try to install puppet package from external repositories. In Case if you don’t have Internet connectivity then create your repository for puppet packages and update the repository info in provisioning template. In my case i have downloaded the required puppet package and its dependencies under the folder “/var/ftp/pub/puppet_rpms/”
Go to “Provisioning Templates” from Hosts Tab , Select the “Kickstart default”

Replace above highlighted code with below line
repo --name=”puppet-pkg” --baseurl=ftp://172.168.10.51/pub/puppet_rpms/
From this template file also remove epel-release package from the package list.Once you are done with these two changes , click on submit to save these changes.
Step:5 Create New Host for Provisioning
From the Hosts Tab –> Select New Host, Specify the name, Host Group and other required parameters.

From the ‘Puppet Classes‘ we can attach the puppet class or modules to this host, which will be executed after the OS installation. In my case i am not touching this Tab
Define the interface parameters and its values from Interface Tab. Specify the MAC address of interface of your server which you want to provision through foreman. Interface name as ‘enp0s3‘ and IP address will be picked automatically from the provision subnet. Once you are done with settings then click on OK.

Go to the Operating system Tab, Select the Operating system “CentOS 7.2” , Media as “CentOS_7_x86_64” and Kickstart default as Partition Table and Root password that you want to set.

Once we click on Submit. Our New Host build status will become “Pending Installation”

Step:6 Boot Your Server or virtual Machine via PXE.
Now boot your bare metal Server or virtual machine via PXE, as we can see that server has picked the IP address from foreman DHCP server.
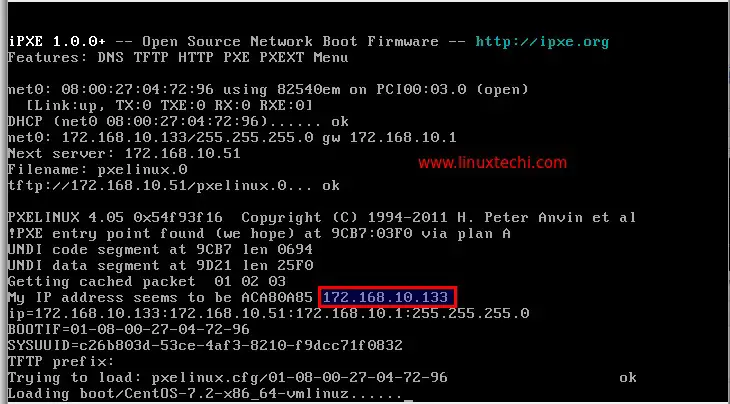
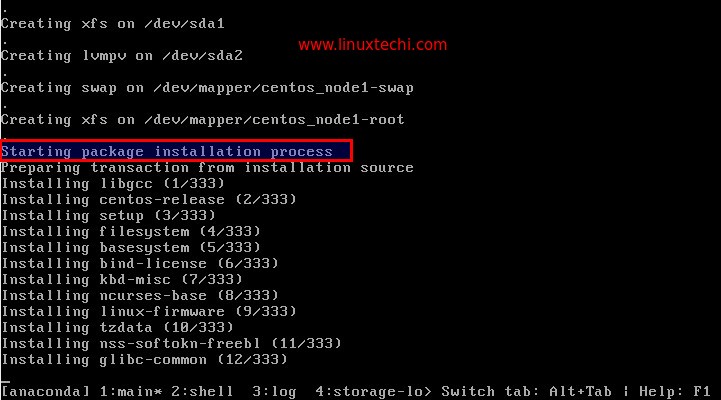
Whole installation will be performed in text mode.
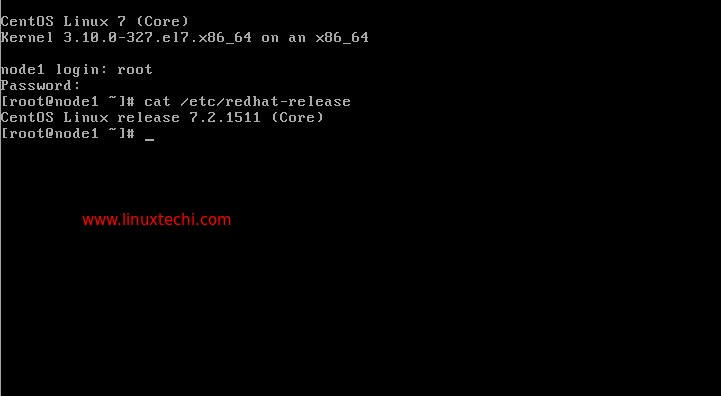
Once the Installation is completed, installer will reboot your server. Login to the server and verify its OS version
From Foreman Dashboard verify the host details as well. Go To Hosts Tab —>Select All Hosts
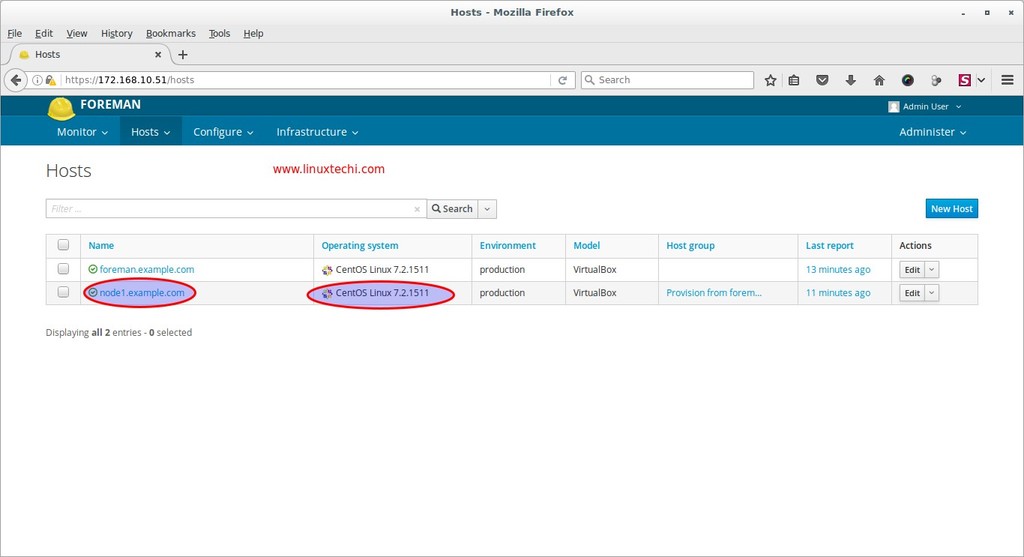
Click on host “node1.example.com“, as we can see that build status has now changed to “installed”

That’s all for this article. Hope you guys got an idea how to provision bare metal and virtual machine through Foreman server. Please share your valuable feedback and comments 